
Have you ever looked at your LEGO city and wondered, what happened here? That’s exactly what I was thinking as I saw random messes, holes in my table, and a power station sitting on top of the beach bathrooms. But there’s a reason behind the chaos…
I’ve been building a LEGO subway system beneath my city—and today, I’m walking you through all the dust, destruction, and determination it took to pull it off.
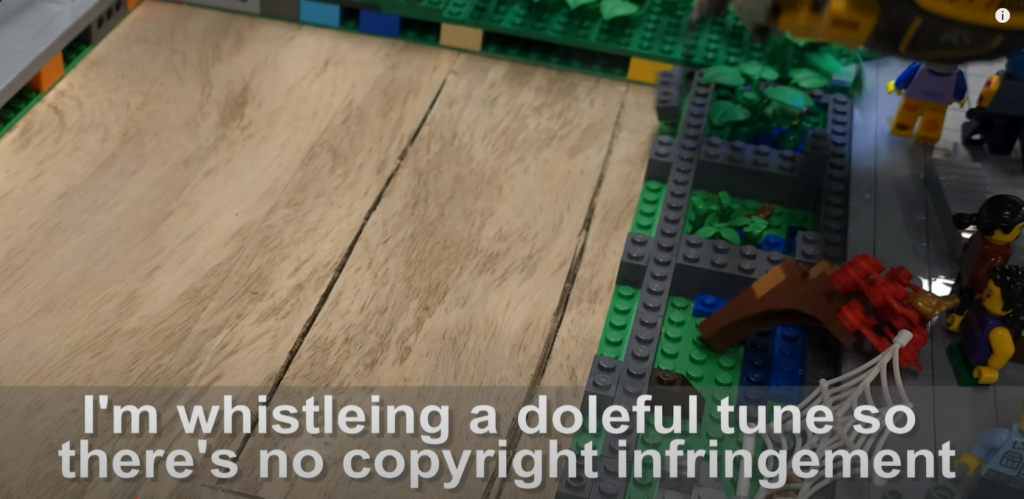
🔧 Cutting a Hole in the Table (Yep, Really)
To start the project, I needed an 8-stud wide hole to fit the stairs leading down into the subway. That meant grabbing my miter saw and cutting into the table—yes, I cut directly into my LEGO table with a saw. Risky? Very. Worth it? Definitely.
But it wasn’t easy. I had to temporarily remove buildings like:
- The zoo station
- The seamstress and flower shop
- Part of the coffee shop area
Let’s just say there was sawdust everywhere, and I probably should’ve removed more LEGO beforehand…
😬 Disaster Strikes Mid-Cut
While cutting one-handed (mistake #1), the saw jumped out of its slot and smashed into a brick! 😱 Thankfully, the 1×2 modified Technic piece survived, and I reused it anyway—battle scars and all.
After widening the hole slightly and dusting off the frog habitats (they weren’t happy), I vacuumed everything and got back to work.
🧱 Rebuilding the City Above
Once the subway entrance was cut, I began restoring the top of the city:
- Replaced the coffee shop, seamstress, and flower shop
- Rebuilt the spider and frog habitats
- Installed a ticket booth at the top of the subway stairs
- Added a sidewalk around the hole (4 studs wide) for minifig traffic
Yes, there’s still a danger of falling into the subway… but I’ll be adding more buildings to prevent that.
🧰 Building the Underground Subway Platform
Time to crawl under the table!
Using U-shaped brackets, I secured a 1×8 board under the table. This board supports the LEGO train track, creating a full subway level beneath my city.
Then came the fun part: designing and building the staircase.
Stair Design Details:
- Built with 2×6 light bluish gray plates
- Reinforced with 1×1 and 1×2 plates
- Used 1×2 masonry bricks for a textured subway wall
I realized later I should’ve built both stair walls at the same time—it was awkward to go back and finish the back wall.
🏗️ Creating the Mills Plates and Platform
Using blue 2×4 bricks from my local Pick-a-Brick wall, I started assembling the Mills plates for the train platform. I kept the train track slightly lower than the platform for realistic boarding height.
I also:
- Attached the stairs to the platform
- Added masonry bricks beside the track for detail
- Began testing train clearance (thanks to the train my brother loaned me!)
🧠 Subway Roof Design Question (Help Me Decide!)
Now that most of the station is built, I need your help! I’m trying to decide on the subway roof design.
Should I:
- Keep the roof flat at the top of the station?
- Slope the roof upward to follow the stairs?
- Leave the top open for easy viewing?
I grabbed a minifigure to check the ceiling height, and I think a sloped roof might be the most realistic. Let me know what you think in the comments!
🍃 Final Touches
- Added some yellow vines for variety
- Started building a solid wall on a separate Mills plate to finish the subway station
- Threw in some dark green “moss” bricks to break up the gray
There’s still more to do, but I’m loving how it’s coming together!
🎥 Watch the Full Build & Stay Tuned
If you want to see the chaos, the creativity, and the final result in motion, check out the full video on YouTube. Be sure to like and subscribe for more LEGO city updates and epic underground projects!